Caldera Installation and Simulating an Attack with Caldera

Caldera is an automation and response platform designed for security professionals. It is used to enhance cybersecurity operations and threat hunting processes. Caldera is designed to simulate attack scenarios, monitor threats, analyze them, and respond. This allows security teams to test defense strategies, identify vulnerabilities, and be prepared for real-world attacks.
Key features of Caldera include the automated execution of attack scenarios, integration of threat intelligence, security analysis, and automation of incident response processes. With this tool, security experts can create and execute realistic scenarios to test and improve defense mechanisms.
Caldera is also a project developed by MITRE and is designed to assist security professionals with threat hunting and incident response.
Lets install Caldera!!!
Requirements
Pythons
Git(optionally)
Linux or MacOS Host
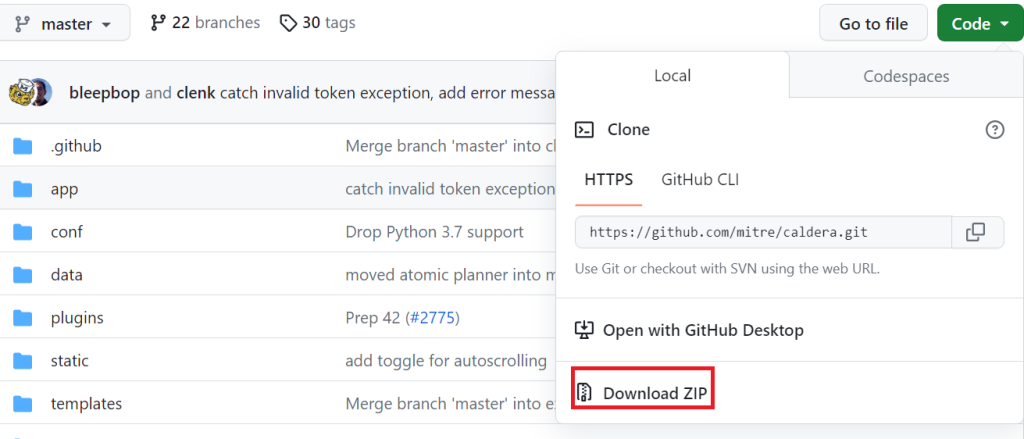
We can download the source files in two different ways.
Github;

Github Gui;
Then let’s run the following command to install the requirements

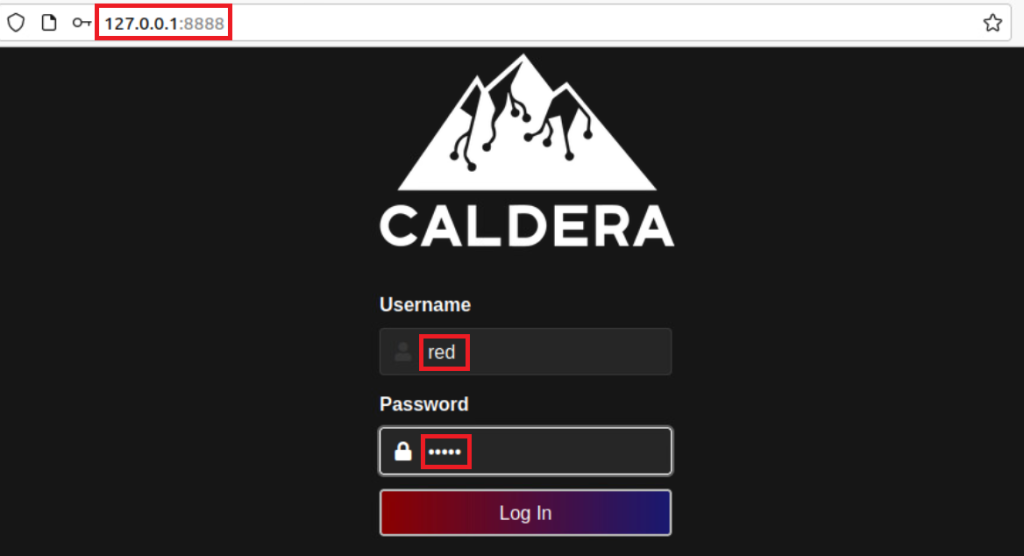
Let’s run the application

Then, let’s go to the browser and type this address; Address: http:127.0.0.1:8888 Username: red Password: admin
Now, let’s deploy agents for our attack tests. Campaigns > Agents > Deploy an Agents As a start, we can deploy the sandcat agent.

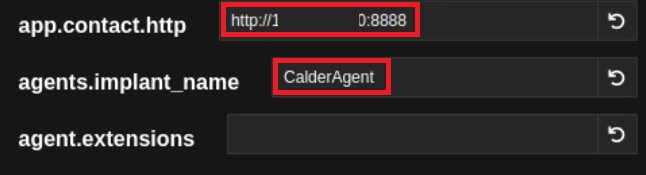
After choosing the OS type of the endpoint where we will deploy the Agent, we define the callback IP as Caldera’s IP and define the Agent name.
After coming down a little with the mouse, we see that the agent setup script has been prepared for us according to the information we have written.

I prepared this script for windows host. Let’s go and run the script on windows and deploy our agent.

Now we go and look at the Caldera interface and we’ll see the agent appear.

Now we can start a simple attack simulation.
Campaigns > Operations > Create Operation Here I start a simple simulation with the techniques of Mitre’s Discovery tactic.


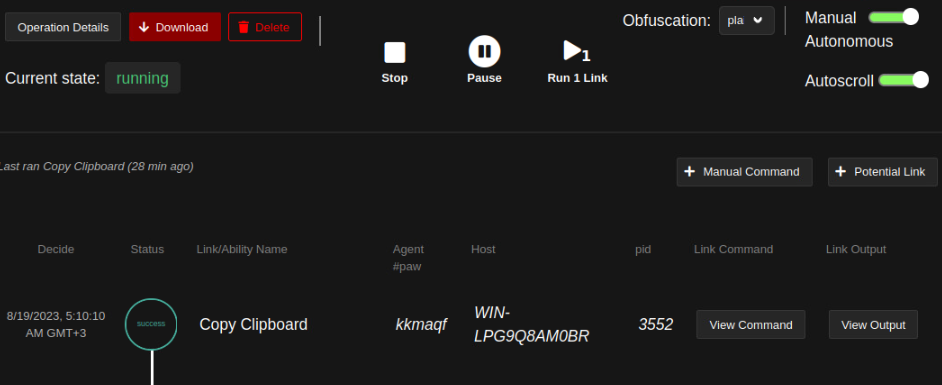
We can click “View Output” to see the outputs of any attack made. Here I looked at the output of the attack, which lists the processes on the endpoint.

If we want to apply a specific attack type; Let’s go Campaigns > Adversaries > New Profile and Create Profile. Click Add Ability
Tactic: Collection
Technique: T1115 | Clipboard Data
Ability: Copy Clipboard

Then let’s go back to Operations > Create Operation Here we select the Adversary we just created in the Adversary section.
As you can see, the agent deployment script was included because I wanted to deploy the agent.

Stay Tune!
Last updated